Thursday, April 25, 2013

Making and Giving Away more Postcards!!

My daughter Ellen is participating in a fundraiser for the Canadian Diabetes Association.  She is walking in a 24 Km hike in Iceland in August!! I think it's just so great that she and her co-workers at Barber Ha are all doing this together and working together to raise funds.  They have had several themed parties and more are planned. 


In an effort to help Ellen - I am going to send a handmade Mandala postcard to anyone who donates $25 or more.

Click on this link Pledge Ellen Lagore to make your donation and then email me with your address so I can send your postcard to you.  My email is emily at emilylagore dot com.

I am so excited to help Ellen and to be making cards to send out to all of you!!

Here is my process so far -

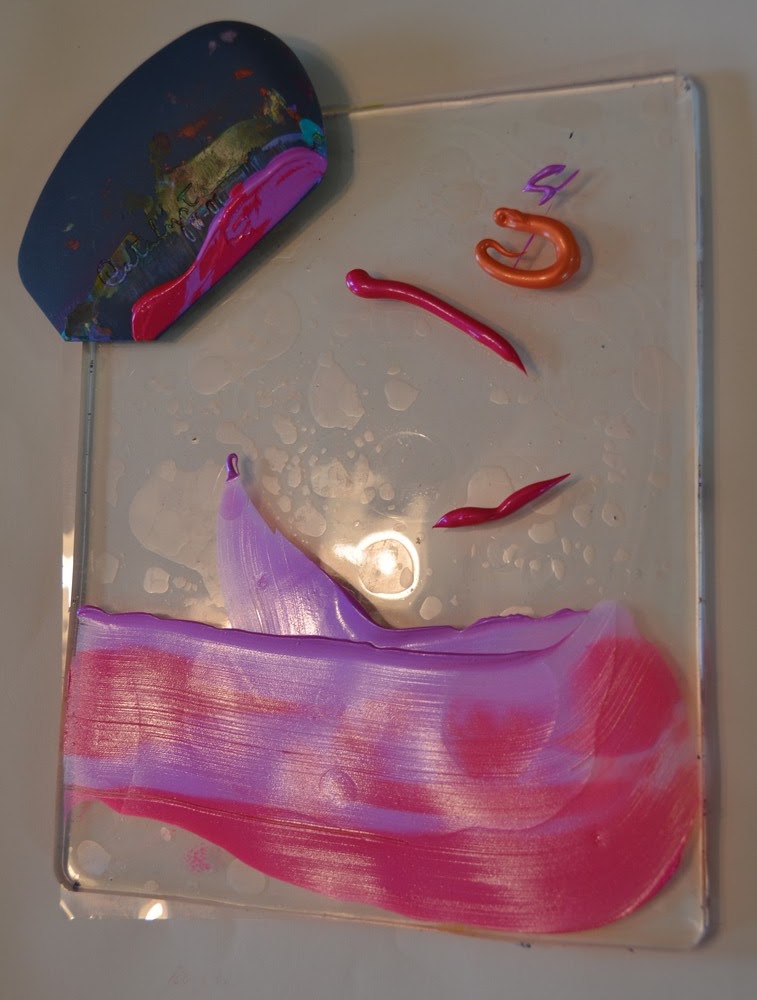
I created some background pages with spray inks - Dylusions pretty pretty colours - and used my own handmade stencils.


Then I used my method of sealing and toning down the inks with a glaze - the tutorial can be found here. The pages looked quite different after - perfect for doodling Mandalas on!!


I have started doodling already and when I complete some pages I will post my results. 

Many thanks to anyone who finds it in their hearts to donate - Ellen and I truly do appreciate it!!


Wednesday, April 03, 2013

Postcard Swap time!!

Last year I had so much fun creating and recieving postcards in iHanna's annual postcard swap that I joined up again this year.  I meant to put a link and promote it before the deadline but I was sidelined with a nasty cold and didn't do much online work at all for a few weeks. 

Unfortunately I didn't take many progress pics except a few on Instagram. 

I started out with some Strathmore paper and used my Gelli Plate and acrylic paints with stencils to lay down a background.  With several layers of paint on the papers I drew Mandalas strategically so that once it came to cutting the postcards to size there would be a fair portion of Mandala on each postcard.  After drawing on the Mandalas - I applied a glaze with Glaze Medium to seal and put a shine over the entire card.

These are the 10 cards - 4"x6" - they are all hand addressed and fancied up with some of my favourite washi tapes on the backs.

I am excited to recieve my postcards!! Thanks for all your hard work organizing the swap Hanna!!


Thursday, March 21, 2013

Making Stencils

On my quest for authenticity - I have been wanting to make my own stencils for quite some time now but kept pushing it aside.  Actually, I've had the supplies for over 6 months and it was high time to dig them out and get with it.  After giving myself a huge nudge and getting over a few hiccups I do believe I am one step closer to having my authentic art voice singing in my work. 

I used a heat tool - or heat pen it is sometimes called.  I had purchased some stencil blanks and spent a long hour pushing that tool through the stencil material.  Yikes.  It was thick and gummed up the tool tip and kept leaving threads of plastic attached to the corners where I had cut. Frustrating to say the least.  But I did manage to cut out a flower shape and was quite pleased with the outcome.  On my second attempt I used a more complicated design and didn't even get a quarter of the way through - it was not worth the frustration. 

On Instagram I got the suggestion to use plastic folders for the stencil material and I remembered I had a pad of acetate hanging around.  The acetate is much easier to glide the heat pen through and away I went!!

I used a glass cutting board that I found cheap at the thrift store. I taped my design underneath the glass and taped the acetate to the top of the glass.  I find it's easier to pull the tool towards you rather than away from you.  It is also easier for me to do lines all running in the same direction to get a flow going - then flip the cutting board around and do another direction.

 It took a bit of time to get through drawing with the heat tool on this stencil but after I was done I pushed all the cut out pieces out and my stencil was ready to go.


A quick test with some spray inks -


And then spray inks on to a wood panel over top of some collage.  I blended the spray inks with some white acrylic and some watered down self leveling gel. Now the panel is ready for some Mandala drawing.


Have you made your own stencils? Try it - it's easy peasy once you get the hang of it!

Wednesday, February 13, 2013

Heart Cards

So I have been busy doodling away on all my cards I made from my Gelli Plate prints.  I had a birthday brunch for my sister Lois on the weekend and let my family pick their favourite card. 

This is important for me to remember. 

My favourites are not necessarily others favourites. 

I know I've mentioned this before - but I am a slow learner and need to learn lessons over and over.  It is a good reminder to keep going with a piece regardless if I like it or not.  Because chances are good someone else will enjoy it. 

Here are my cards - I gotta tell you - this was GREAT fun doodling on small pieces like this - freeing and fun!! The cards are approx. 4.5"x5.5".

Hope you have a wonderful Valentines Day!


Tuesday, February 12, 2013

Water Spatter Paint Technique

Here is a technique that I really enjoy using with my liquid acrylic paints - I love the layering effects you can get. 

I first applied my liquid acrylics in a random manner with not much attention to colour or placement.  I spread it with my Catalyst Wedge over a sheet of light pink scrapbook paper.  


Whenever I am demostrating this technique - I always say the same thing "now - quick like a bunny" spatter water drops from your fingers onto the wet paint before it dries.  And I mean it - do this quickly or your paint will dry and you will not get the effect we are going for. 


The water acts as a retarder for the paint underneath where it lands.  When the paint on the other parts of the paper have dried - sometimes only a minute or two of drying time depending on how thick you have applied the paint - take several tissues or a wad of paper towel and gently blot the wet drops.  If your background paint hasn't dried yet - give it a minute or two more to dry - we are wanting to sop up the paint where the water landed - not the background paint.

Here is the background after wiping up the water.


A closer look at the effect of the water spatter.


You could stop there or keep going adding more layers of paint and spattering with water.  As you get several layers happening - keep in mind all those luscious water spatters underneath and make your spatter cover more and more area as you go along - you wouldn't want to cover up too much of those spatters and colour combos.

Here I added another layer of lavendar and blue paint and then more spattering.


A closer look at the water spatters


And the final result with the water wiped up revealing the layers underneath. 

The funny thing about this technique - it is very difficult to replicate a previous colour combo - seems like each time I try it turns out different and I totally embrace that!!

Have fun with your paint!!!

Thursday, February 07, 2013

Be Mine

I don't really "do" Valentines Day.  But I have been known to make cards and what a wonderful excuse to use my Gelli Plate!! 

I originally quartered a full sheet 22"x30" of Strathmore something or other - I wish the sheets had stickers on them so I knew what I bought - but I ended up having so much fun I cut up another sheet!

I used my new 12"x14" Gelli Plate and the cut up sheets were just slightly off size but it didn't matter to me - these cards are not going to be precise. 

I decided on my Valentine Palette


Applied the colour randomly

 Spread it using my Catalyst Wedge

And drew random hearts with the smooth end of a paint brush.

 This is the first print pulled - the paint is quite thick and textured in some spots - might make the doodles I have planned for these difficult to draw.  You can kind of see the metallic in the orange paint in these two photos below.


I pulled 3 prints total and also pulled a print in a small journal.  Here they are from first to last and you can see how the paint either was used up by the last one or it dried out. I like all the prints - for different reasons!!


I wasn't done so cut up another sheet and applied more paint - twice!!


  Here are the 8 prints I pulled - love them!! 

  A juicy detail showing the texture and a little bit of the sheen of the metallic orange.


And this one was my fave print!  Now I will let them dry and cut them into cards - then some doodling with my Sharpie Poster Paint pen.  I will take pics and post an update when I finish them. Do you have plans to make Valentines Cards this year?

My Lovely Gelli Plate

First off, let me just say that I am no way affiliated or compensated by any of the brands I mention here on my blog - I fall in love with supplies and want to share my enthusiasm for them. 

I love my Gelli Plate!!  I had never done any kind of print making before picking up this awesome supply and once I started it has become an addiction.  I don't think I've even begun to explore all the different things I can do with it but I am having fun doing what I'm doing. Plain and simple - layers.  I love the layers I can get with it!!!

Here's a little show and tell of one tiny little gelli plate session

I picked some colours to squirt on the plate - these are heavy body acrylics

Then I used my Catalyst wedge to spread the paint around.


I laid a stencil over top of the spread paint - in this pic below you can see I spread some of the left over paint onto a sheet of paper which will become a painted page to use in collage.


To pull prints from the stencil, I used a couple of already painted pages and a vintage book page


The paint was pretty much used up from the stencil so I pulled the stencil off and smashed it down on a journal page to create a negative image of the stencil.


The paint dries quite fast so I had to move quickly (it helps to have several journals and pages and painted backgrounds ready to pull prints with) and laid another painted page over top of the gelli plate and opened my journal to another page to try to use up all the paint before it dries. My favourite prints are the ones from these last few pulls where the paint has dried in some spots and it is really random how the print will turn out. 


I hope you enjoyed seeing one of my Gelli Plate sessions!! Would love to know if you've ever tried monoprinting before!!